Pages

Showing posts with label Wyvern Wargames Club. Show all posts

Monday, 26 May 2014

U.S Special Forces Zombie Hunters

I know, I know it's been an age since I last updated my blog... sadly work and the recent loss of my father has seriously curtailed my painting!

Well come half term, come the painting frenzy!

Those of you who are familiar with the book World War Z, will appreciate the inspiration for my latest offering. In the book the U.S start dropping 4 man spec ops teams into the grey zones to search for survivors and organise resistance.


I opted for four figures from Hasslefree Miniatures. Their figures aren't cheap, but they are beautifully sculpted and paint up a treat. As ever I used a mix of Vallejo and Citadel paints and washes.


 The uniforms are based on the current US military digital camouflage, which I created using a half dry brushing, half dabbing method that I think has worked.


Next on the paint table - North Africa adobe buildings.

Sunday, 15 December 2013

Long Range Desert Group (LRDG)

You can tell that it's almost the end of term... I've found time to paint!
At long last I have completed the six LRDG that I started back in October half term! The results of which are below:


 With the end of term looming I should get a bit of paint time in between all the festive madness!

Next on the table are a small group of Post apocalyptic survivors from Hasslefree Miniatures and a small village worth of scratch built adobe buildings for North Africa.


Sunday, 8 April 2012

Saga Scenics Part Four - Finishing Touches

The final (well almost) stage of the construction is the addition of clump foliage for bushes and scenic scatter (of flock) for grass.

I used a dark green clump foliage for bushes, which I glued on using PVA. After that had been allowed to dry I then added a light green flock using watered down PVA. I was going to add lines of flock to represent partially grown crops, but decided (with my good lady's advice) that less is more.

Close up of the trees and rocks.
The tree in the opposite corner
Four of my Bondi laying claim to the field
All I need to do now is trim and touch up the trees and varvish the whole model.
As this was my first attempt at this type of modelling, I am quite pleased with the results and, more importantly, have learned a lot of useful lessons for next time.

Saga Scenics Part Three - Painting the base

The next stage was to paint the base to look like a muddy field. Normally I use Citadel paints, however due to the size of the models this would be quite pricey. Instead I bought a range of Homebase tester pots, at only £1.49 each they are far more cost effective than any model paint.

The first step was to paint the whole base in 'Double Espresso'. Now the weird bit - I actually painted the tree trunks too. Firstly, one had split exposing the screw and secondly, the actual twig didn't look natural enough in 28mm scale!Next, I drybrushed the model with 'chocolate' (quite appropriate considering the day!)

A note on drybrushing - I am a great believer that less is more when drybrushing - it is much better to reload your brush several times and gradually build up the coats. Firstly I use kitchen towel to scrape off the excess paint and then brush off more on a separate piece of towel. Then, I 'Dry brush the back of my hand until I cannot feel any moisture, only then do I introduce the brush to the model. This process is repeated until the require shade is achieved.
A close up of the field
and again of the rocks
After only minimal drying time (enough time to remove the seal and lid from the next pot) I drybrushed the whole model again using 'pebbles'. I didn't clean the brush from the last stage, which helps the shades of brown graduate more.
I drybrushed the rocks with a slightly more moist brush to give a greater contrast between the rocks and the soil.
The final stage will involve flocking the base.

Friday, 6 April 2012

Saga Wargames Scenics Part Two - Trees

I designed the terrain pieces with the intention of having scratch built trees attached to the base.
The first stage of the tree construction involved searching for twigs in a nearby copse of trees. I then glued rubberised horse hair to the twigs. (below)
Next, I affixed foliage flock to the horse hair by repeatedly spraying it with Morrisons extra firm hold hairspray, sprinkling the flock and then drying with a hairdryer. This process was repeated until the tree was covered. (below)
I then fixed the the trees to the base by first drilling a hole in the base and then attaching the tree with a thin woodscrew from the bottom of the base. I then filled in the gap around the base with filler. I had already built up parts of the base with polyfiller and then covered it with PVA and sharp sand. (below)
Next stage is to paint and flock the base.

Wednesday, 4 April 2012

Malifaux Guild Mechanical Attendant

Another bot for my Malifaux Guild faction, a Mechanical Attendant.

When the model came from the supplier, one of the claws had broken off the extendable arms. I decided to cut the arms off and I think I actually prefer the model that way.

Colour pallette - All Citadel - Red Gore, Bolt gun metal, Dwarf Bronze, Chaos Black and Badham Black wash.

Maifaux Guild Guardian

The latest addition to my Malifaux Guild faction - A Guild Guardian. In line with C. Hoffman, I have painted the bot in 'Guild Red' (in other words Citadel Red Gore with a Badam Black wash).

I will finally be playing my first game of Malifaux at th Wyvern Wargamers club (formally known as Evesham Wargames Club) on Sunday 14th April.

Sunday, 25 March 2012

Malifaux Guild C. Hoffman

My latest addition to my Malifaux faction; the enigmatic C. Hoffman.
Early on in the formation of my faction, I decided that all the figures would have a single colour appear as a part of their clothing to unify them. I chose Citadel Red Gore as it closely matched the faction colour in the rules.
I have extended this idea further with C. Hoffman (and the next two figures on the paint table) and introduced the colour to the mechanical enhancements that are strapped to the figure.
I'm playing Saga at the next meeting of the Wyvern Wargames Club (formally known as Evesham Wargames Club), but hope to give the Malifaux rules a try on the second club night in April.

Sunday, 4 March 2012

My Malifaux Guild Faction.

Introducing Lady Justice, The Judge, The Death Marshalls and thier Guild Hounds.
Now to play a few games!
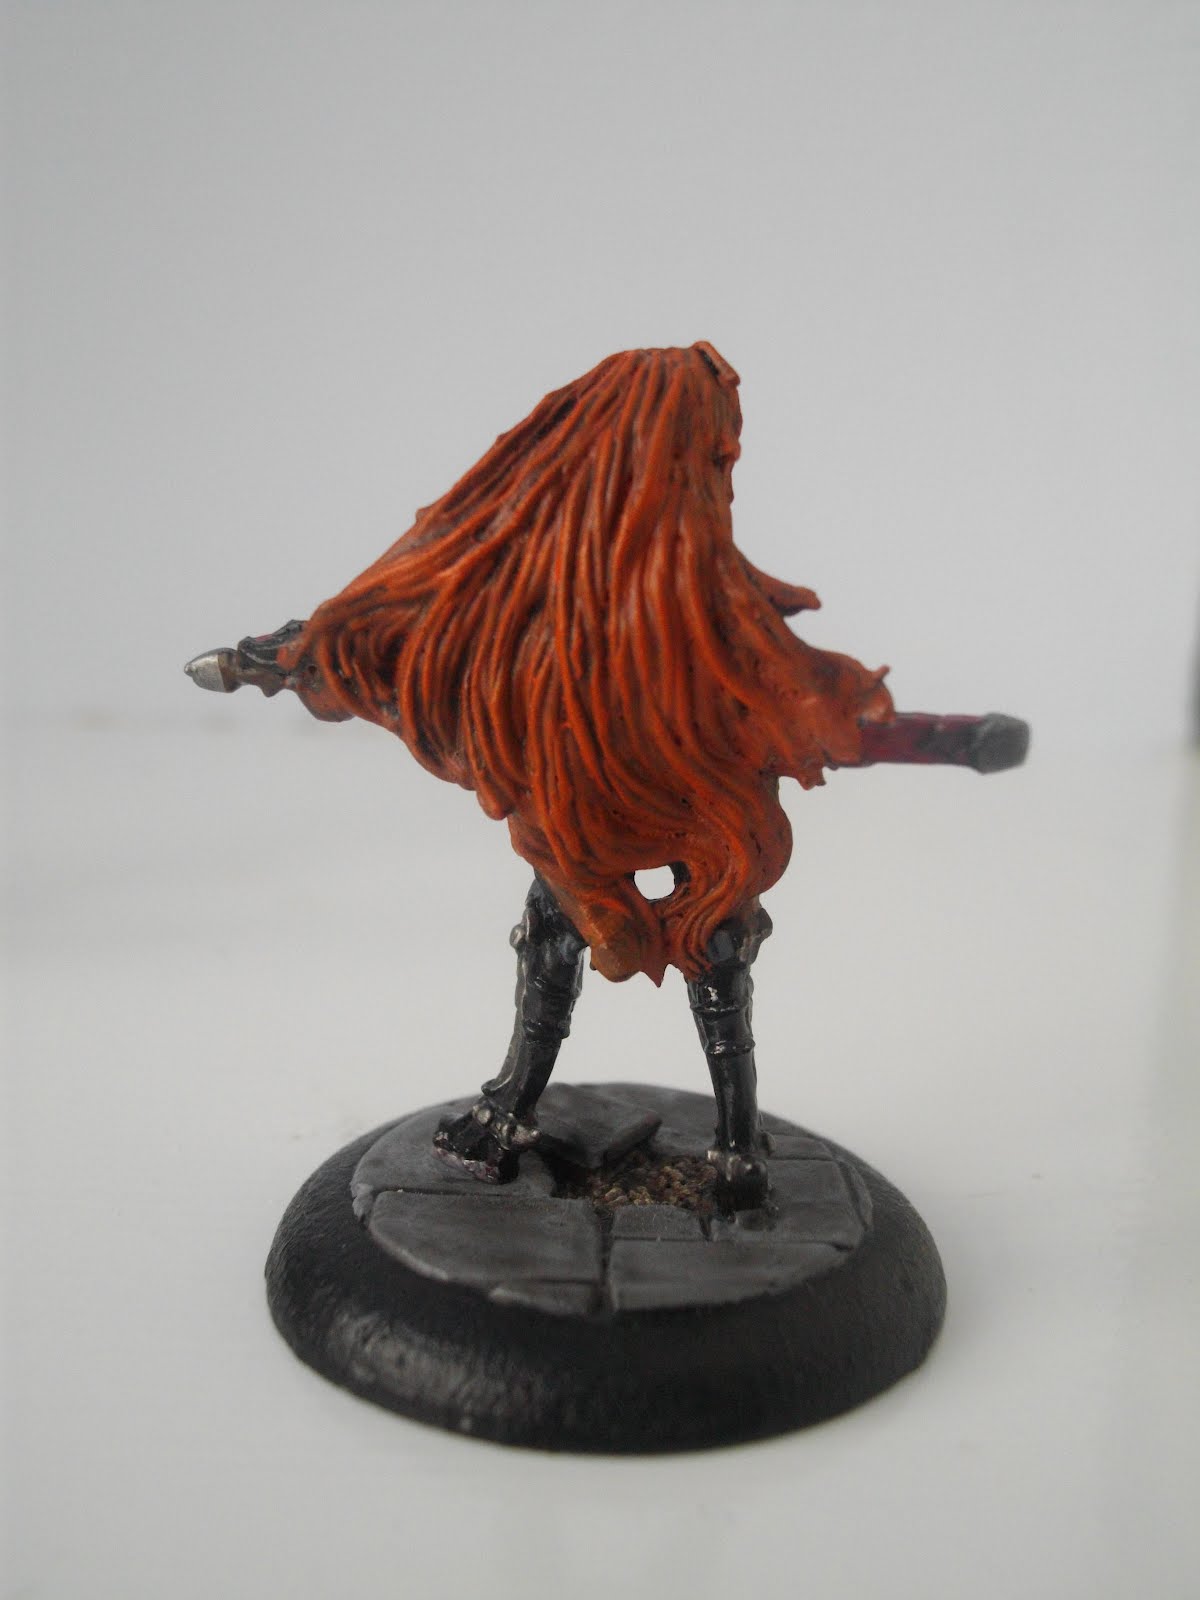
The final member of my Guild faction - Lady Justice.

As with all other faction members, she wears dark grey trousers and has a couple of items of 'Guild Red' clothing (gloves, blindfold and sword scabbard). Her top and boots have been given a high gloss varnish, to give them that Kate Beckinsale in Underworld look. Other items of note are her pearl handled revolvers.


Back to Saga for some more vikings.

Malifaux Guild - The Judge

Below are the pictures of the 2ic of my Guild faction - The Judge.


I made the decision that all my faction members would wear some semblence of a uniform. All the figures wear grey trousers (Vallejo Luftwaffe Grey with a Badham Black wash) and have at least one Item of dark red clothing (Citadel Red Gore with a Badam Black wash). It the case of the Judge, the lining of his coat and his scarf is 'Guild Red'.


Next, the deadly beauty that is, Lady Justice.
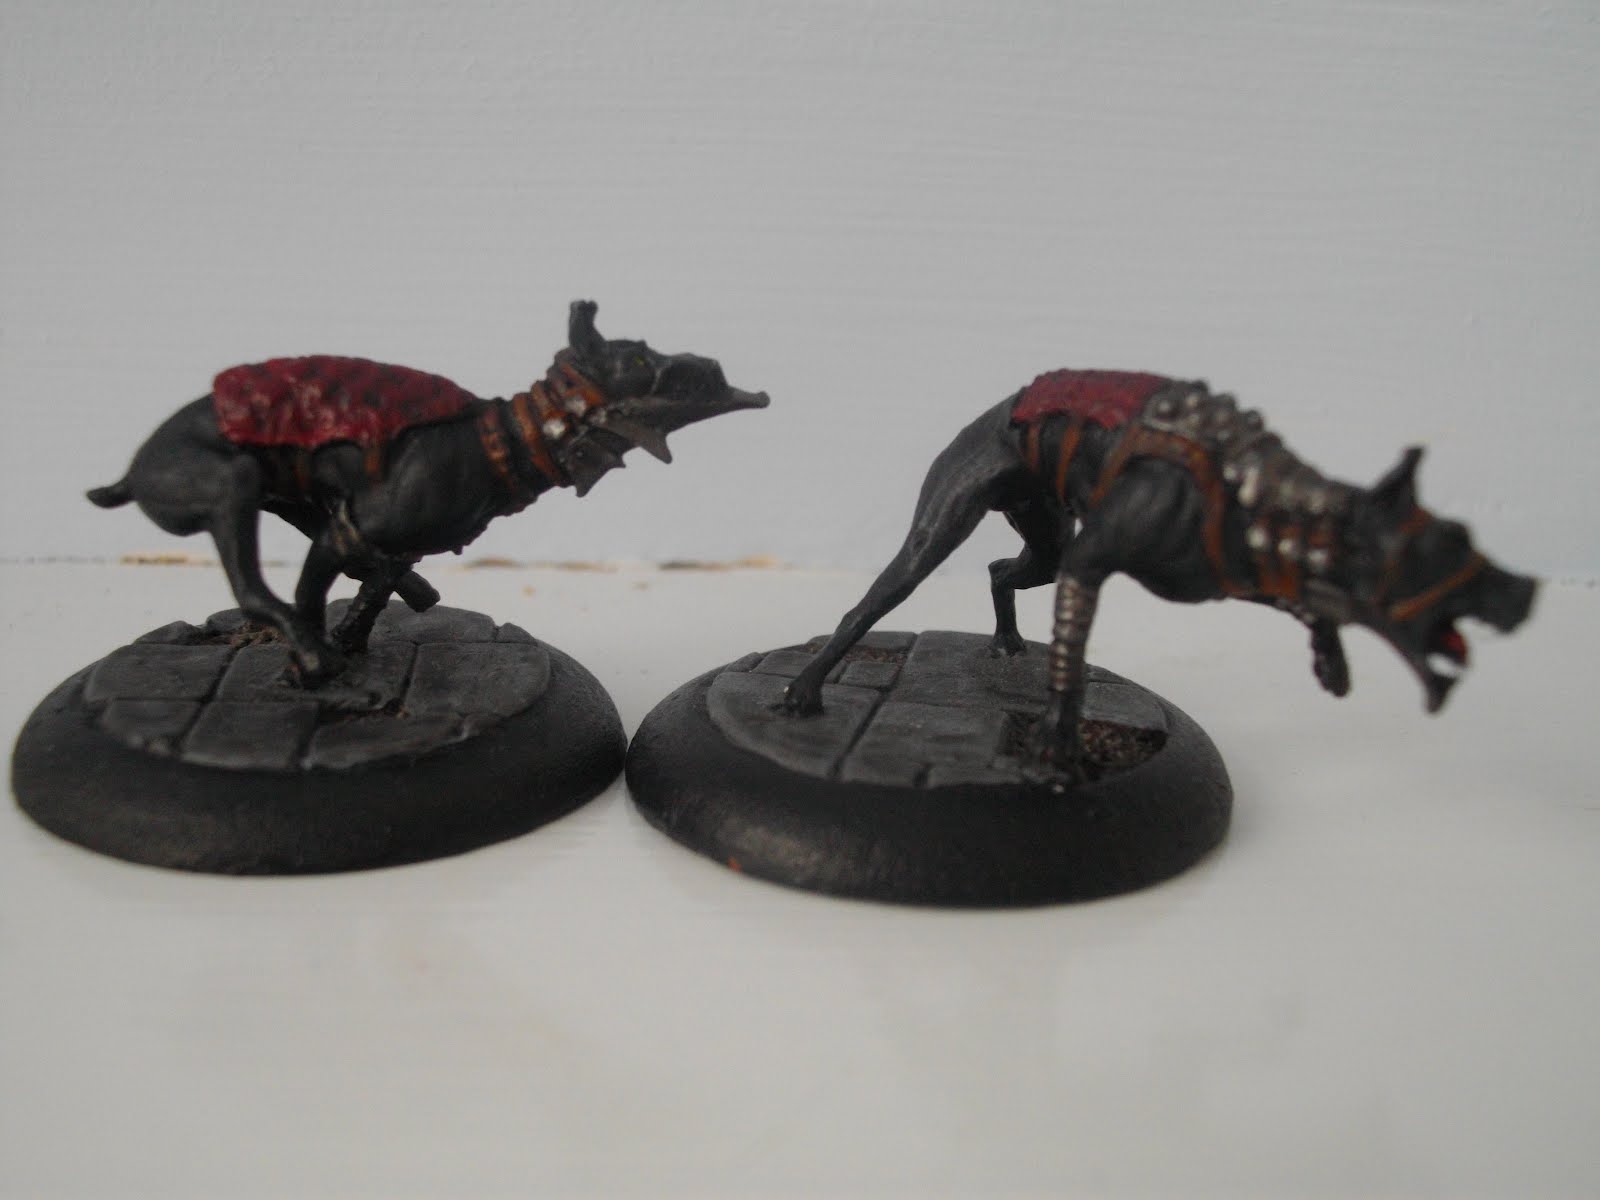
Malifaux Guild Hounds

I've had a bit of a green spell of painting recently and have completed my first Malifaux faction. Below are pictures of two Guild Hounds.

I decided that all the figures in the faction should have a single colour that unifies them - in this case Citadel Red Gore with a Bdam Black wash.

Next, The Judge.

Thursday, 16 February 2012

Malifaux Guild Death Marshals

Here are my first completed Malifaux figures - The dreaded Death Marshals. I decided upon a fairly uniform look and I'm fairly happy with the figures themselves - the only thing I'm unsure about are the 'flames' in the coffin - let me know what you think please!


Wednesday, 15 February 2012

A quick update on my Malifaux Guild; the Death marshalls have been the focus of my painting.

Paint scheme so far:
Trousers - Vallejo =Luftwaffe Grey followed by a Citadel Badham Black wash.
Coat - Citadel Dark Flesh followed by a Devlan Mud wash.
Skin - Citadel Tanned flesh, Citadel Ogryn flesh wash, Vallejo pale skin dry brush, Orgryn flesh wash, Vallejo pale skin highlight.
Coffins - Citadel Scorched brown undercoat, Citadel Bestial brown 'dry brush' (but with careful application on details) and Devlan Mud wash.

The flames or spirit or whatever it is coming from the coffin is no doubt going to be a source of perturbation... for now they have been started in Citadel Sunburst Yellow... we'll see it that lasts the course!

Saturday, 11 February 2012

Malifaux Guild - Work in progress


So picture the scene... I'm at the Gloucester Minicon having recently completed my Saga Vikings (to be safe I had 1 figure that needed flocking on my paint table - we all know what happens when you paint your last figure!).I had just sold a stack of figures on Ebay and had cash in my pocket. Behind the Evesham Wargamers table was a stall selling Malifaux - Lets be honest, I had no chance, I had to buy something!


After checking out all the factions and models available I finally settled on the Lady Justice starter set (plus the rules and fate cards!). The set comprises of Lady Justice, the Judge and 3 Death Marshalls. The figures were all well cast and with very little flash. The only frustrating thing was the amount of construction required! Still, really nice models.


The pics below show the current state of painting. I have also purchased a pair of Guild Hounds and finished the lot with a set of bases from Fenris games (www.fenris games.com).
Lady Justice and the Judge
The Death Marshalls

Guild Hounds